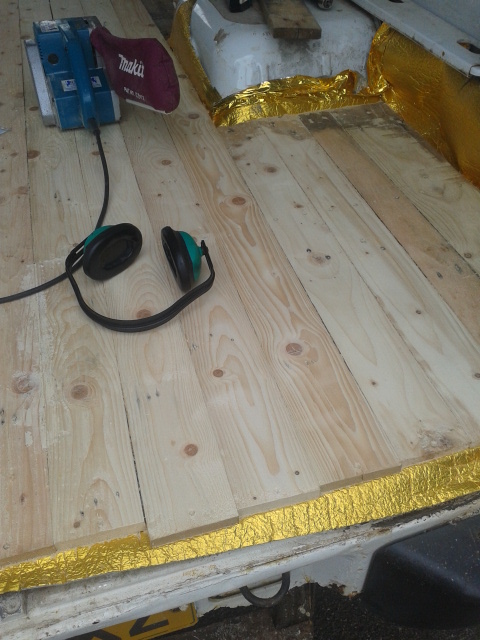
We left the story at planning. And the planning continued for many hours…and then in parts the frame did not support some of the planks, an additional feature of using pallet wood that is all different shapes and sizes. The planks that were too springy for our comfort were brought up and small chocks of wood were placed underneath, this reduced the springiness to a suitable degree. After this, more planning was required, which left us with a floor level enough to make us happy. We knew we were never going to get a perfect floor, but, it adds to the character.
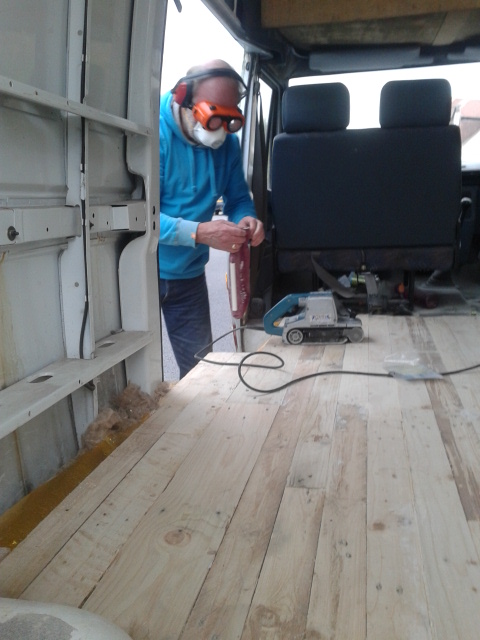
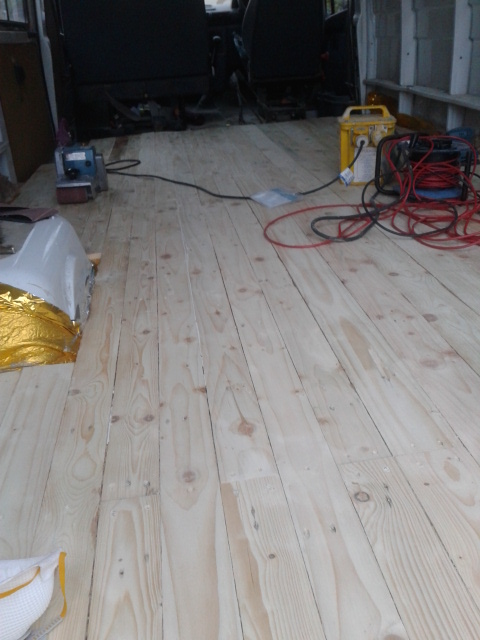
The next step was to sand it. We hired a belt sander for about £20, hired it on a Saturday and got essentially two days hire for one because the shop was closed Sunday so it had to be returned on the Monday, nice. The two days were thus used for sanding. Starting with a 40 grit, then moving onto a 80. Clive, my father even got involved on the action. The corners were reached using a pad sander. Following the sanding the van was vacuumed and cleaned to remove dust and prepare the floor for varnishing.
Part Sanded
The end result is a really nice floor. It will never be as hard wearing as classic proper floor but that’s ok. We can always accept dents, sand again or eventually replace it.
Tips for the floor:
Wear protective clothing, masks, goggles etc
Clean well before varnishing
Spend the extra time for a good finish – it’s worth it
Pour varnish into gaps to function as a sealant
Rob


